biggerboat's building boondoggle blog

I started this in H&F but this seems a better place for it. These are my H&F posts. A bit long-winded but hopefully en
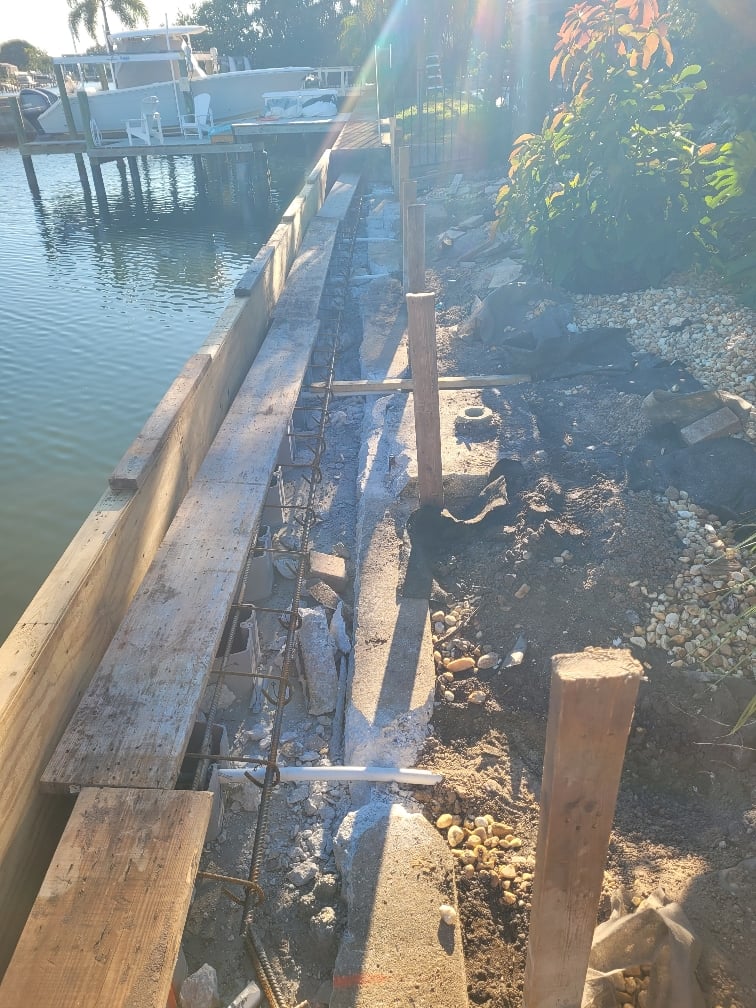
The seawall guy texted and said he would be here next week. He told us to move utility lines 2 feet away from the seawall. I pulled the electric from the dock pretty easily, and I can cap the water line easily as well.
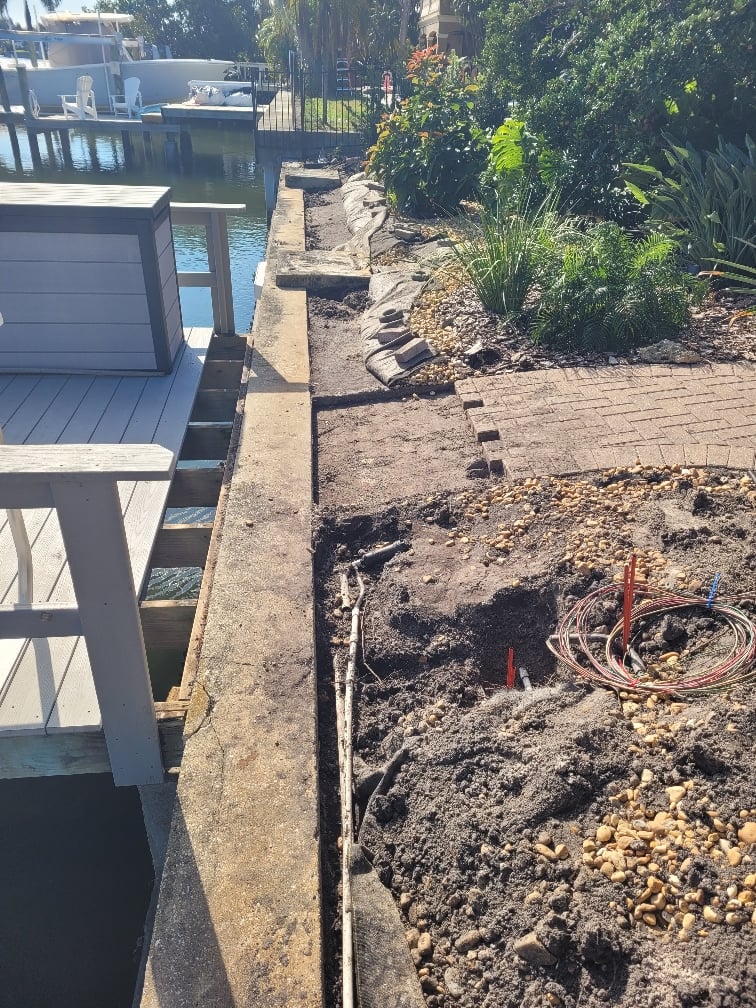
The sprinkler lines are another story. We started to dig them up enough to figure out where to cap them but it proved far more difficult than anticipated. First of all there are at least 2, maybe 3 sets of lines. Probably because each time someone put in a new system they left the old pipes in.
Digging was just horrible. We have landscape fabric covered with rocks so we had to move rocks just to be able to dig. Under the landscape fabric is masses of roots. We barely got anything dug up before we decided to just turn off the system, let the seawall guys destroy anything they need to, and hire a landscaper to put new lines in. My wife and I are losing our mojo with age.

We get most of our rain in the summer due to afternoon and evening thunderstorms. Spring is pretty good but we get almost nothing from October through February.
Got the wire to the dock pulled and got the sprinkler pipes capped. We left the pipe along the seawall. If they break it, fine. It was originally put there to water grass that we replaced with rock so we'll just run new lines.
My children's books are now listed as "no longer available" on amazon. I emailed my publisher to find out why and it turns out that amazon now requires a certain margin percentage to list them. To get there I had to raise the price about 30%. Even with that I'm getting about 30 cents a book. I hope Bezos is enjoying his yacht.
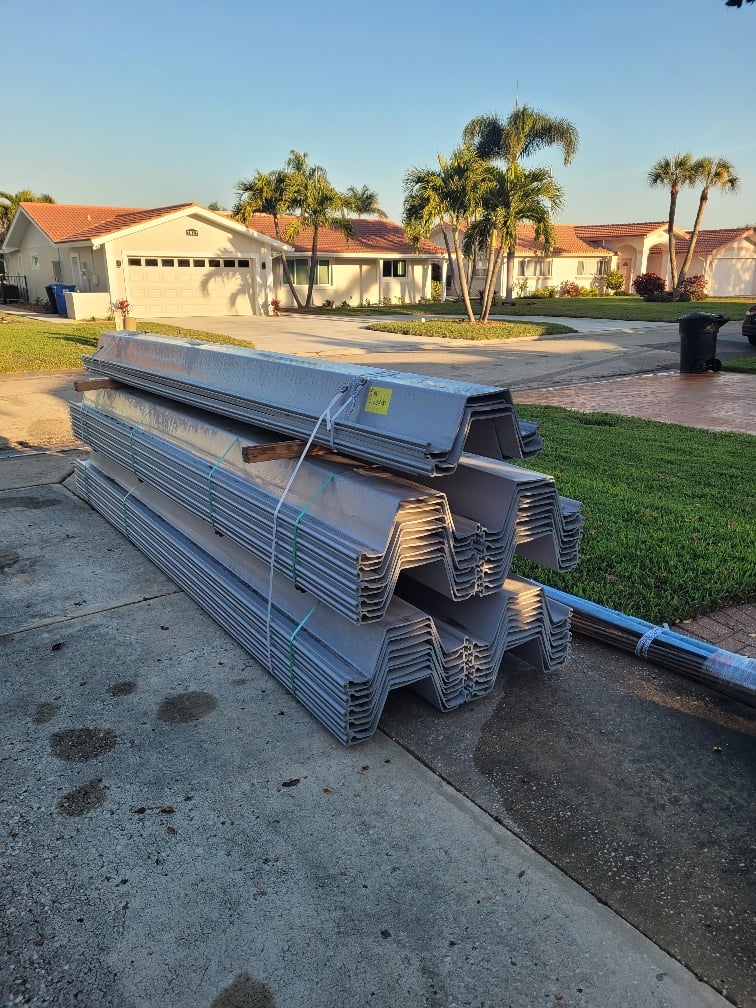
The seawall is moving along. There are only 2 guys doing it.
They take those corrugated thingies in the previous post and, one at a time, set them along the existing seawall. Then one guy gets in the water and uses a water pump to dislodge mud so the panel can sink. This is the same method they use to sink dock and boat lift pilings. Once it sinks enough a guy smacks the top with a sledgehammer to get it far enough down so he can put a vibrating tool, similar to a jackhammer, on it to push it down further.
The new seawall (concrete) will eventually go in between the panels and the old seawall.
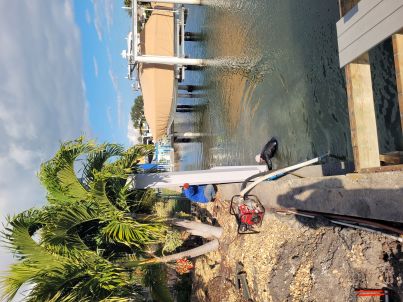
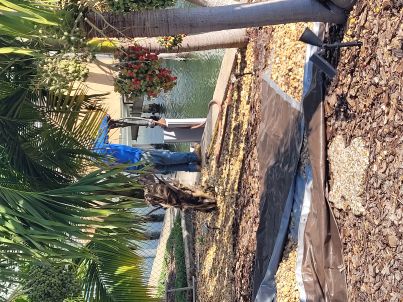

So that's the vibrating tool in the second photo. It does look like a jack hammer. Do the panels interlock?
So that's the vibrating tool in the second photo. It does look like a jack hammer. Do the panels interlock?
Yeah, they interlock. They are remarkably strong.
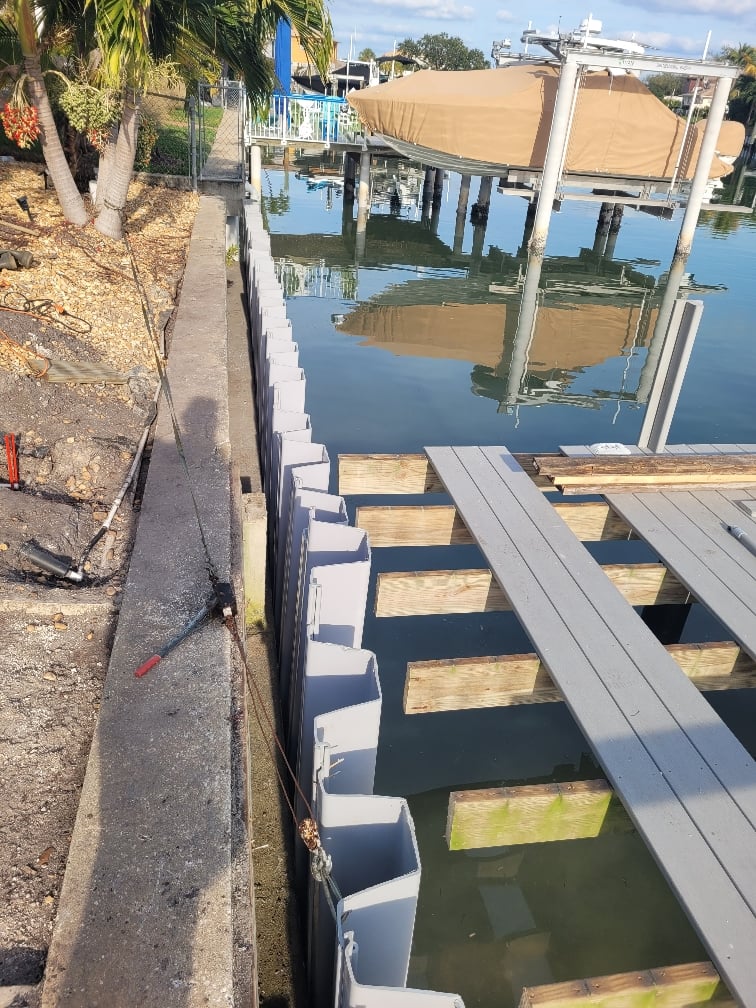
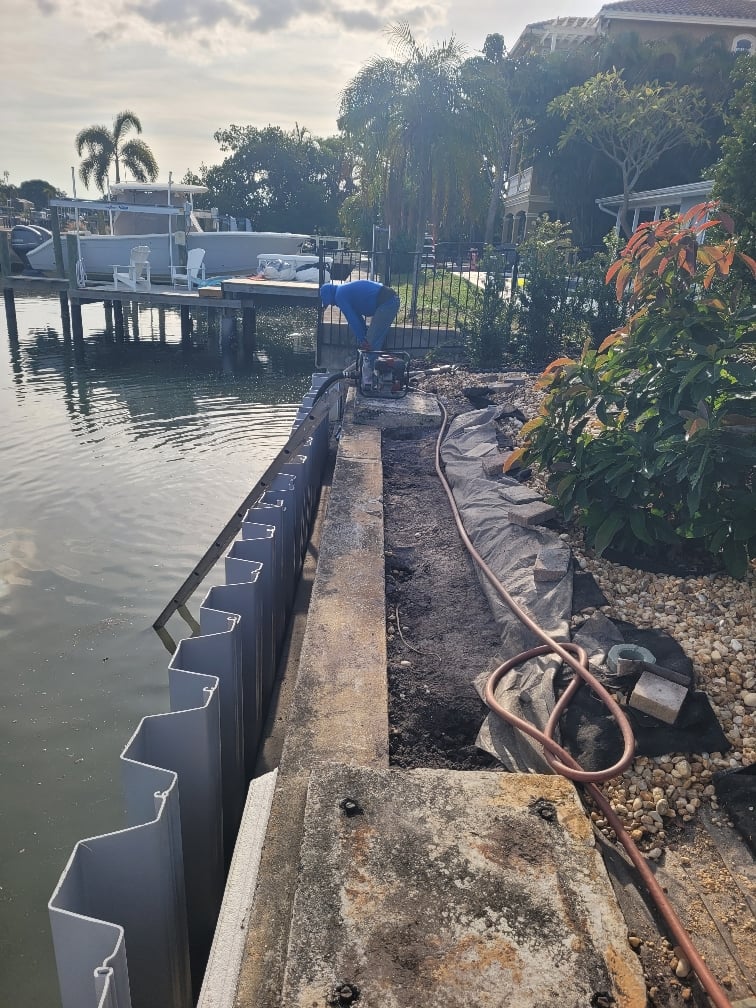
Do those only interlock, or are there rivets/screws at the joints as well?
Looks like good progress so far.
Do those only interlock, or are there rivets/screws at the joints as well?
Looks like good progress so far.
So far they just interlock but I suspect they will somehow be attached to the concrete.
So far they just interlock but I suspect they will somehow be attached to the concrete.
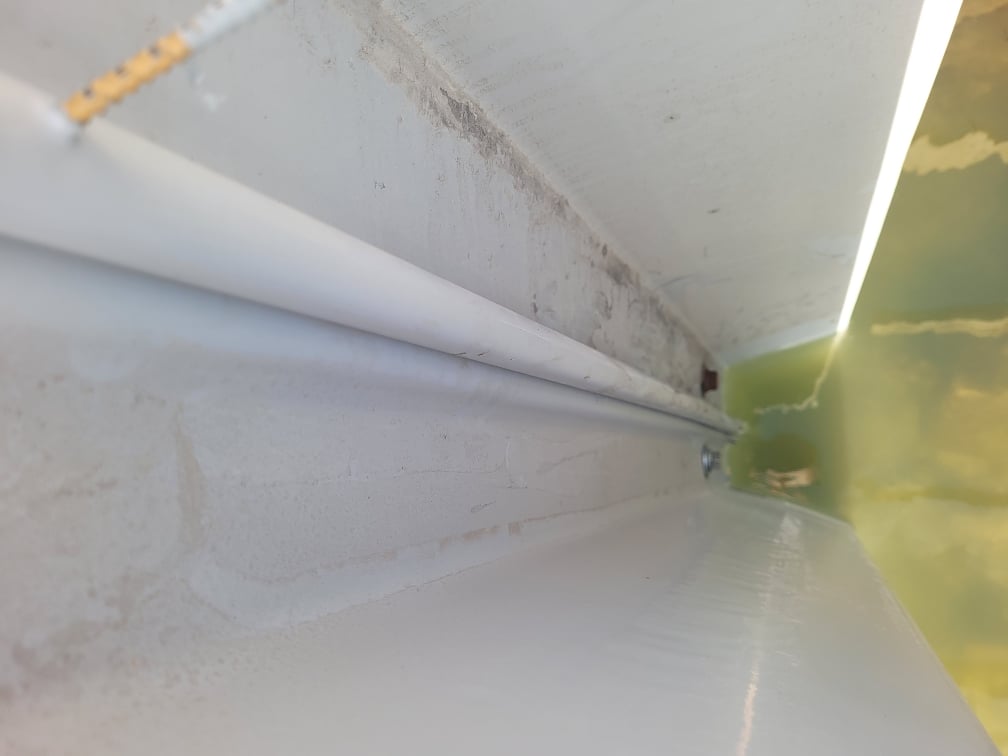
If you look down by the water you can see they bolted the panels to the existing belly band.
Today they attached some boards to the panels. Assume they are for the forms for the concrete caps but who knows.
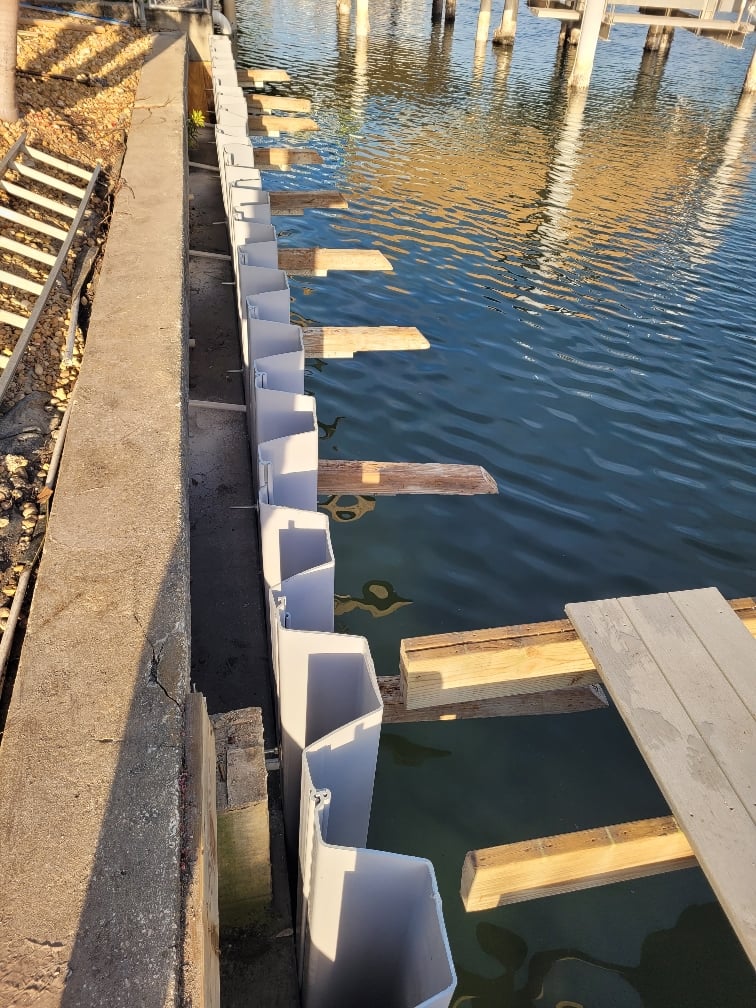
I think that's where you clean the fish, so the refuse just goes straight in the water below.

I think that's where you clean the fish, so the refuse just goes straight in the water below.
my guess was diving boards for pelicans, but you can clean fish on them when they're not in use
They put some more wood on. Still guessing it's for concrete forms. They also broke up the cap and dumped the pieces in where they will pour. I guess that's ok.
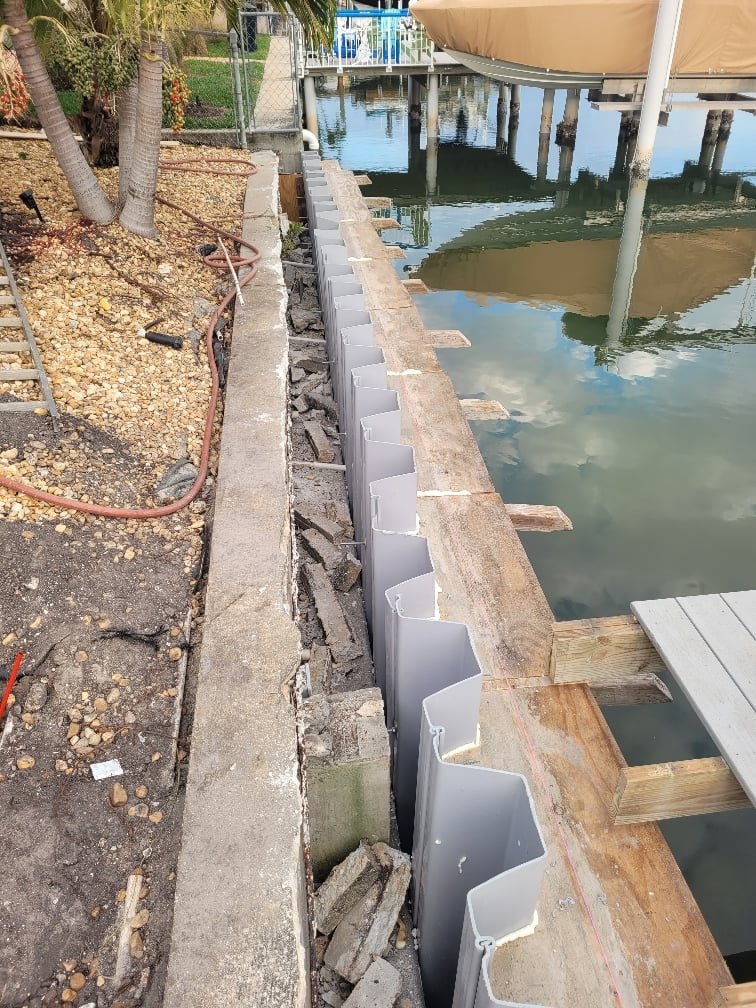

Maybe since it's concrete it's ok. I don't think it would be good if it were anything biodegradable that would eventually leave a void in there.
Maybe since it's concrete it's ok. I don't think it would be good if it were anything biodegradable that would eventually leave a void in there.
I guess it will have to work now. They poured concrete in the gap between the old seawall and the panels this morning.
They also dug trenches every 6 feet or so. I assume these are for the metal bars that will anchor the wall an keep it from shifting in or out. Just extra stabilization i think.
They will have to pour additional concrete. I wasn't aware this is a two step process.
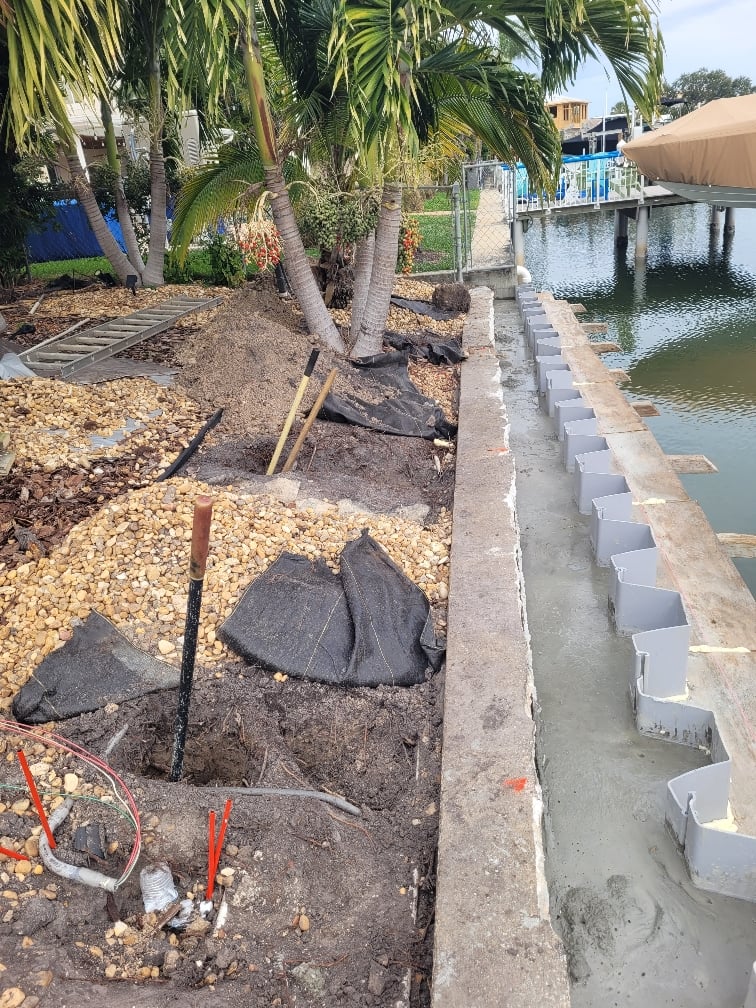
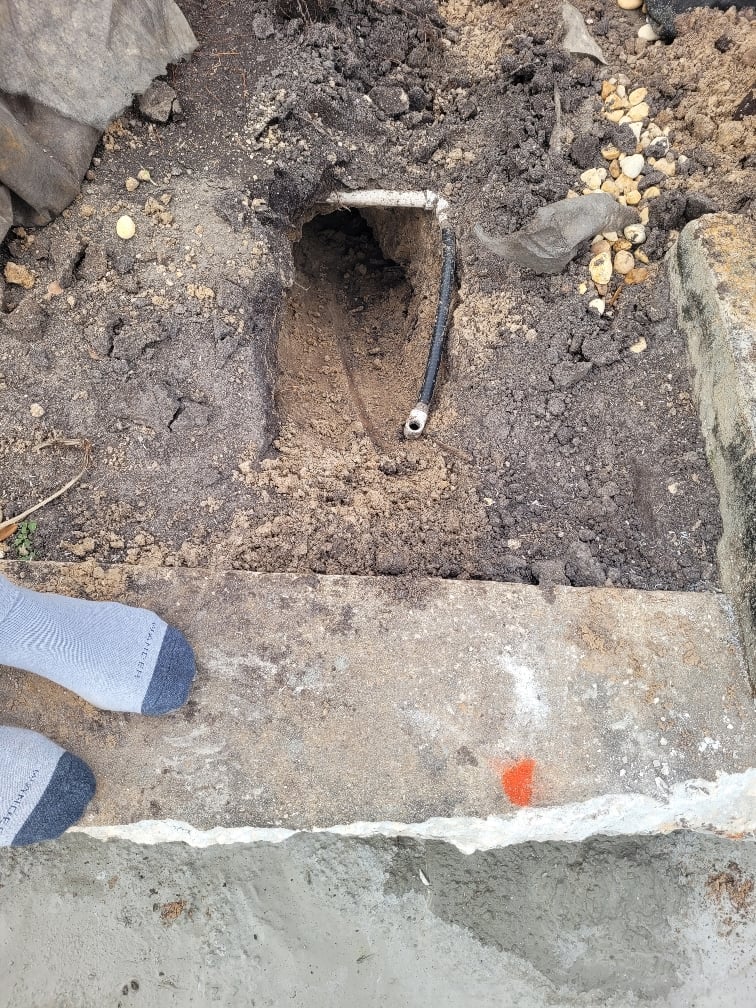
Today they put rods down in the holes. They went pretty far in, like maybe 8'. The other ends of the rods will be attached to the panels it looks like.
I talked to the guy and he said the ends of the rods buried in the ground have some sort of thing that spreads out like an anchor but I never saw that. They finished putting them in before I looked.
I can't imagine this ever failing. The original seawall is still there plus about a foot of concrete and some really strong panels anchored to the ground.


Windows part deaux.
So, we got the parts. I'll post a pic.
They were a bitch to put in. First of all, they come in pieces. Each piece has a weight rating and a spring in it. They interconnect. The only problem is there is only a gap to put them in big enough to put in one at a time. Then you have to slide the second one in to interlock. That's only half the problem. The spring ends attach to a little piece of plastic. The top one goes on first, which is fine. But the bottom one you have to pull the spring up and hope you get it over the little hook. There's a ton of resistance on that spring and no room to hold on to it. It looks easy from the picture but the plastic piece has to be screwed in first and you have to pull the whole thing down about 6 inches to get tiny needlenose pliers in, then pull the spring back up 6 inches. There's a ton of tension on those springs. It took me trying to hold the spring with itsy bitsy pliers while my wife pushed the units down and I horsed the spring up. It took us about 20 minutes per side. That was after having to get the old ones out that were jammed because the springs either broke or uncoiled and jammed in the window.
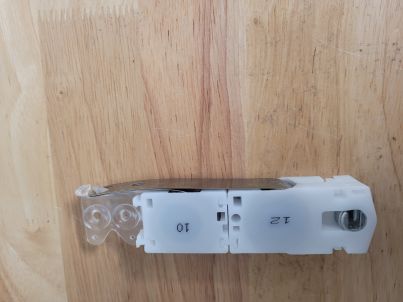
We still aren't finished with all of them. It was hard.
One of the reasons I'm even mentioning this is because I called a window company to see if they would fix it. This was before I found the parts. I looked back and saw it was December 22 (today is Jan 16). The woman not so politely told me I had to fill out a request online. So, I did. But she pissed me off so much I decided to do it myself. Well, I never heard back from them BUT I got an email today saying they got my request and someone would be contacting me.
How do business like this stay in business?